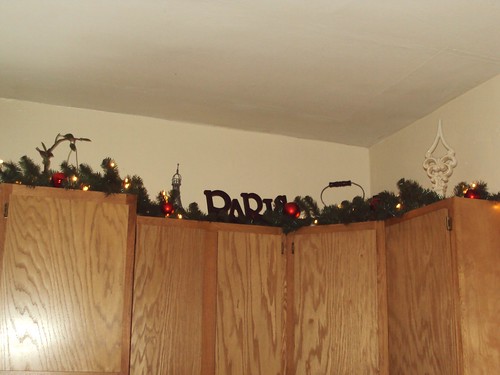
Okay, I still don't have a new camera yet, so you're going to have to bear with my crappy pictures. I was so excited to share this that I couldn't wait. I saw somewhere on
blogland a tutorial for newspaper snowflakes. I was going to make those, but then the burlap post yesterday got me thinking. Why not make them with burlap?

So I give you: Recycled Burlap Snowflake Ornaments!
Here's mostly what you need for supplies:

- A snowflake template (printed mine off the internet onto card stock)
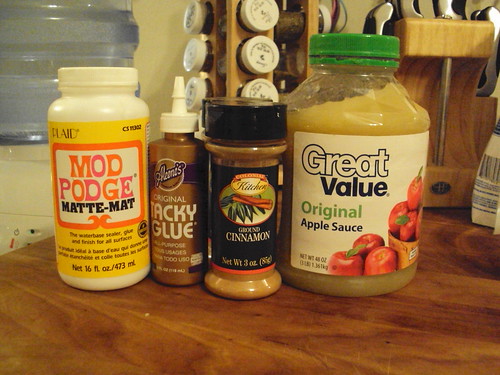
- Mod Podge
- Paintbrush
- Cardboard (in this case recycled from the back of an empty legal pad)
- Scissors
- Burlap scrap (or any fabric would work really)
- Buttons or other embellishment (not pictured)
- Glue gun (not pictured)
First: trace your snowflake pattern onto the cardboard:

(sorry for that horrible pic!)
Next, flip over your cardboard and brush mod
podge over the back side of the cardboard (so you don't cover your traced lines). Make sure you put on a fairly thick coat so the burlap will stick good!
 Then put your piece of burlap over the mod podge, smoothing it as you go.

Now comes the hard part, waiting for it to dry (at least that's the hard part for me!).
After it's dried for at least 10 minutes (15 would be best), turn over your cardboard and cut out your snowflake along the traced lines.

You could just leave this as it is, but I decided to put some buttons on mine with the hot glue gun (yea instant gratification!)
Then I punched a hole in the snowflake with a regular hole punch and tied a natural cotton string through the hole. You could use twine or ribbon for this too, I didn't have any twine! :(
TaDa! You're done!

Wouldn't a bunch of these look great on a rustic themed tree? Or as a great handmade package topper? You could do any shape you wanted, don't limit your imagination to snowflakes. I can see these as deer, trees, the sky's the limit!
Also, you could probably eliminate the need for cardboard by treating the burlap with fabric stiffener and then tracing and cutting your pattern directly from that. I haven't tried this method, so I can't guarantee the burlap won't unravel at the edges.
Let me know if you try this project! I'd love to see your version.
Happy Crafting!
*P.S. Two tutes in two days, I am on a roll! ;)
*Sharing this at:
The Inspired Room's Holiday Linky Friday
Today's Creative Blog: Get your Craft On
A Soft Place to Land's Do it Yourself Day


 *
*

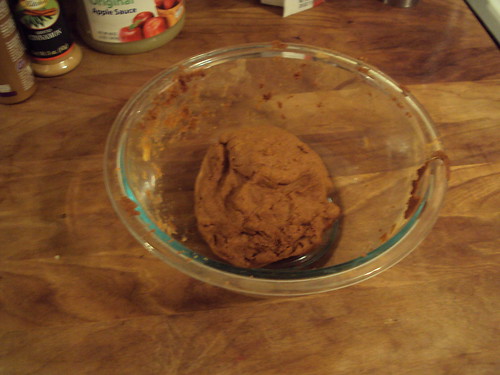 After you let it sit a bit, take a small hunk of the dough (about 1/4) and roll it out with your rolling pin. Here's some tips for working with the dough:
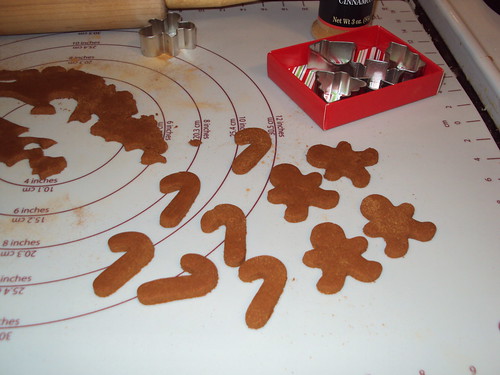
 Mine are still drying, so no finished pics yet. I will update this post when I'm able to get them decorated. Martha glittered her bird shapes. I want mine to still look like gingerbread, so I'm planning on using paint pens, puff paint and things like that to decorate them. I plan to put the small ornaments on my little kitchen Christmas tree. I'm so excited to finish these! If you try these, please show us pics!


 Much better! My skirt is a little big for the space, but oh well.
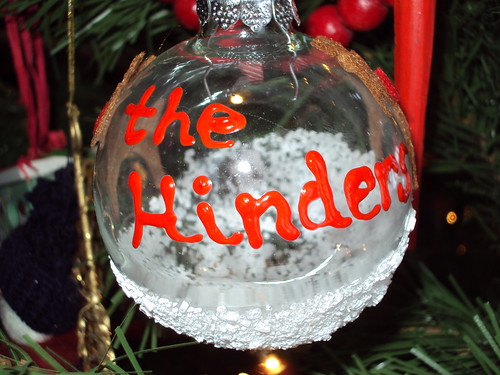
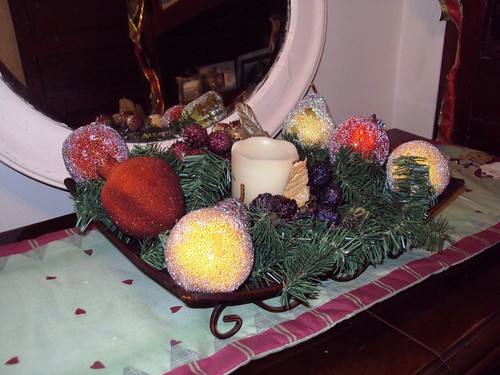
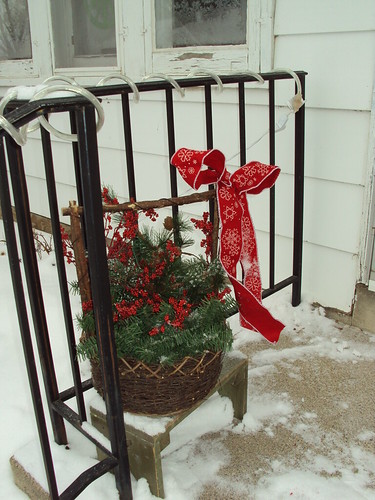
 Red berry picks, fake sugared fruit, and even some red Christmas balls! I ended up only reusing the berry picks for this project, but I did use the sugared fruit elsewhere which I'll show you later.


