
My room for this week's makeover is my living room. I literally spent almost nothing in this makeover, but we'll get to that on Wednesday. The project I am sharing for this room is an ottoman with toy storage. I had a super dinky footstool for the couch, and it wasn't working. On top of that, I needed a place to store all of my daughter's toys. Enter the $2.5o auction find:
Not very attractive looking. It was then that I decided to go back to the original plan of slip covering, but I also decided it needed extra padding. So I used the staple gun to attach a layer of quilting batting over the whole thing.
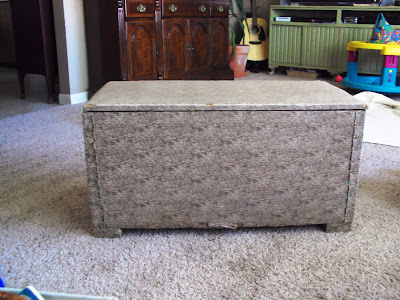
I used some ecru colored heavier fabric I had laying around and sewed a rectangle for the bottom with elastic that fits just under the lid. Then I sewed a rectangle for the top and did corners like you would a bed sheet and fitted it with elastic. Here's the final result:

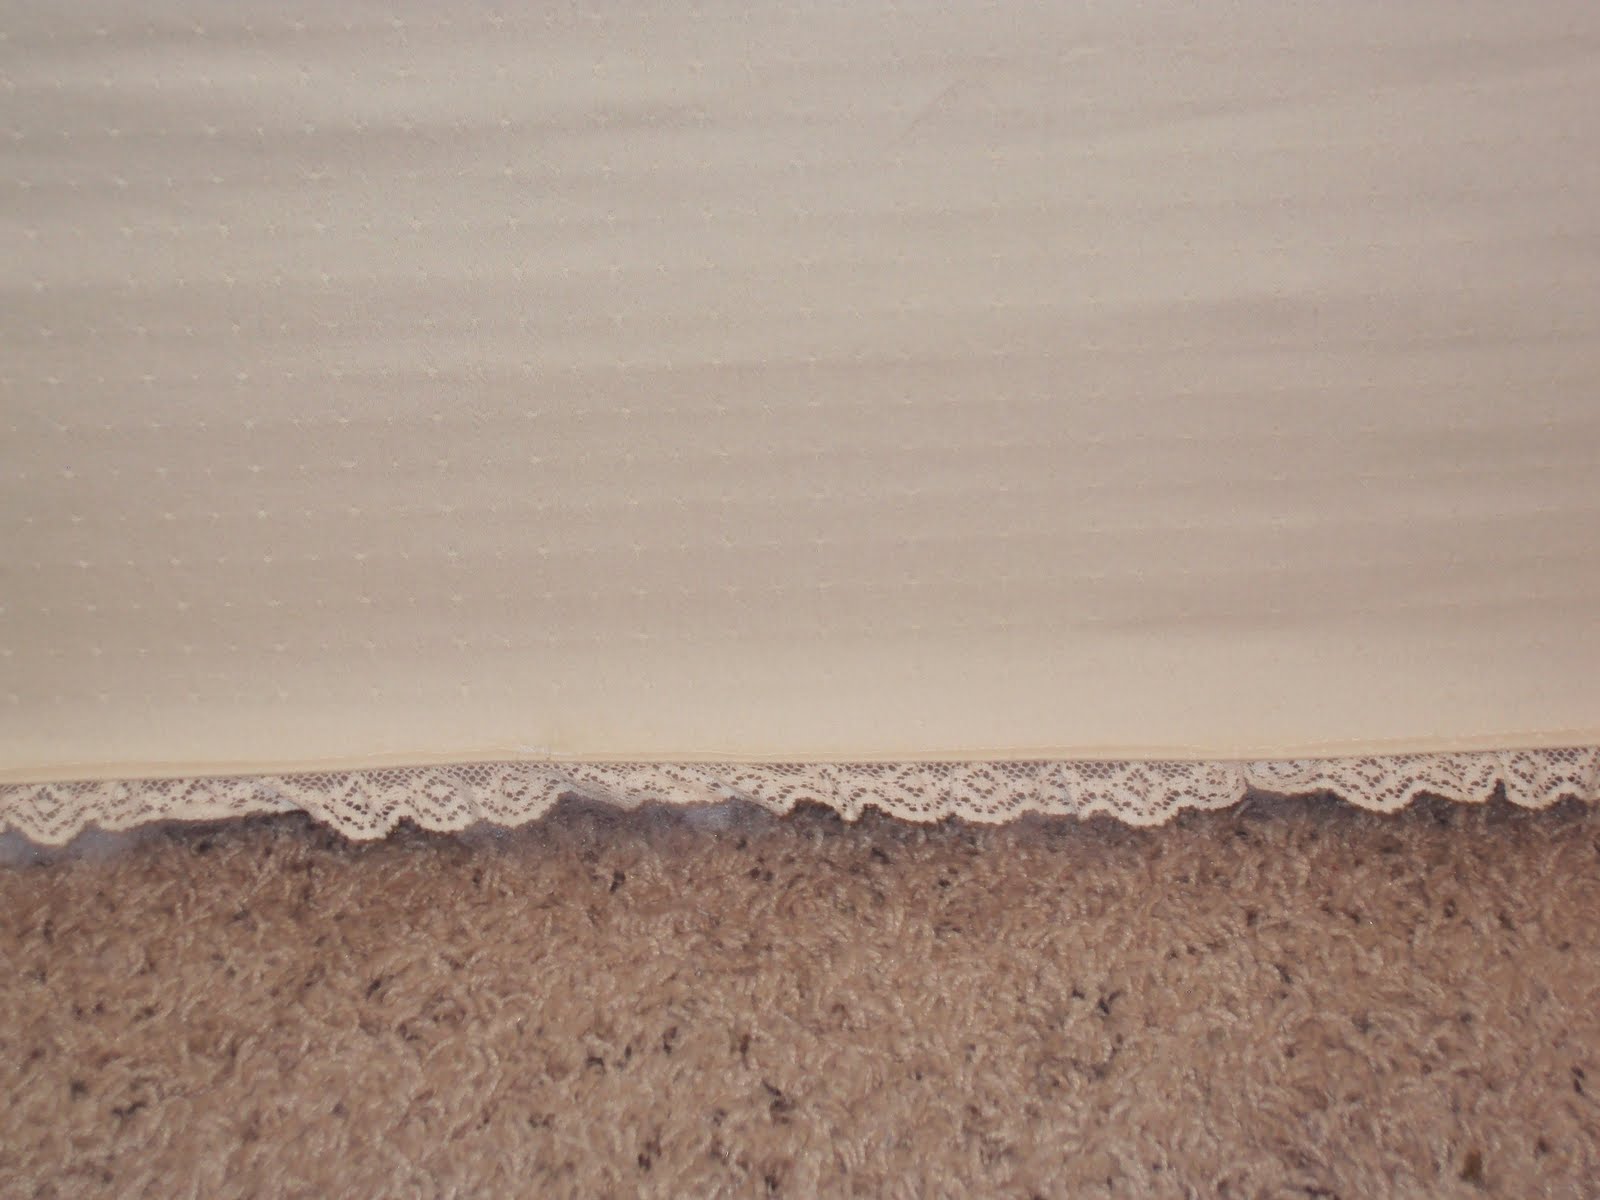
Here's a close up of the lace detail on the bottom:
 I think it still needs a little tweaking. I have to put some sort of feet or wheels on it to make it easier to move. Other than that the only thing I bought for this project what the actual box itself. Not a bad $2.50 investment if I do say so myself!
Happy Crafting!
At first I was just going to slipcover it as is, but the old contact paper covering was giving off some kind of staining oil. So, I started to rip it off thinking maybe I'd refinish the wood underneath. (I have to mention here that ripping it off involved pulling out hundreds of tiny little nails.) This is what I found:

Not very attractive looking. It was then that I decided to go back to the original plan of slip covering, but I also decided it needed extra padding. So I used the staple gun to attach a layer of quilting batting over the whole thing.

I used some ecru colored heavier fabric I had laying around and sewed a rectangle for the bottom with elastic that fits just under the lid. Then I sewed a rectangle for the top and did corners like you would a bed sheet and fitted it with elastic. Here's the final result:
Here's a close up of the lace detail on the bottom:
 I think it still needs a little tweaking. I have to put some sort of feet or wheels on it to make it easier to move. Other than that the only thing I bought for this project what the actual box itself. Not a bad $2.50 investment if I do say so myself!
Happy Crafting!
No comments:
Post a Comment